

Ecovacs Deebot N79s Manual
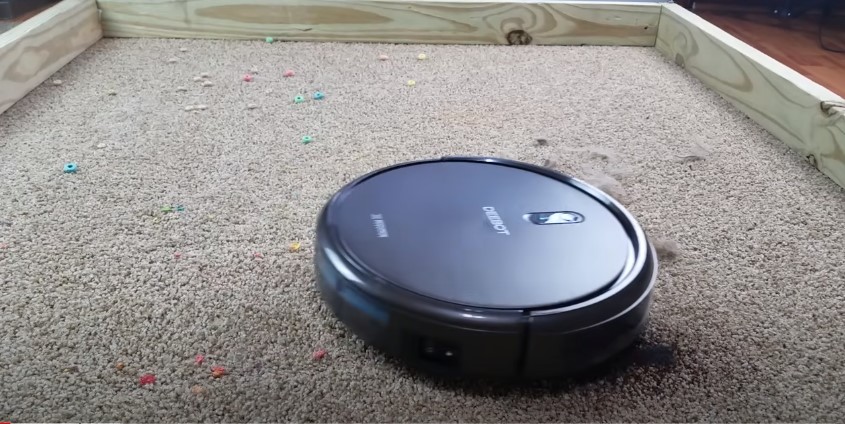
The Ecovacs Deebot N79S is an innovative robotic vacuum cleaner that offers a smarter and effortless way to keep your home clean. Equipped with advanced Smart Move navigation and mapping technology, the Deebot N79S can efficiently clean for up to 110 minutes on one charge before going back to base for self-charging. Its omni-directional sweeper allows it to cover a larger area in room corners and edges. It also features powerful suction power to pick up dirt, debris, pet hair and other small particles. Its Auto Mode is designed so that its Auto Mode allows the robot to clean your entire home easily without having you change vacuuming settings while it is in use. With its slim 3.07” design, the Deebot N79s can easily navigate under furniture, tight corners and hard-to-reach places where dirt often tends to accumulate because of pets or regular human activity! With included remote control, cleaning with the Deebot N79S is simple and hassle free for you!
Unboxing And Setup of Ecovacs Deebot N79S
The Ecovacs Deebot N79S is a powerful and functional robotic vacuum cleaner designed to make your home cleaning easy and efficient. To get the most out of your new gadget, follow professional advice on how to unbox and set up your Ecovacs Deebot N79S.
Unboxing
The unit should come with the following components:
-Body of the Ecovacs Deebot N79S
-Charging station and power cord
-Remote Control
-Four side brushes
-Two main roller brushes
-Filter – consists of two parts: sponge filter and carbon filter
-2 extra charcoal filters for odour reduction (optional)
-Free “Ecovacs Home” app for mobile device control/monitoring (optional)
Setup
Installing the different components that come with your unit is relatively easy. The following steps will help you get set up in no time:
• Place the main body of the robot in an area free from furniture or objects that could obstruct its way during operation. Its best not to place the unit close to power cords. This will help it to move more freely along during its cleaning cycle.
• After confirming that nothing is blocking its path, plug in the charging base station into wall socket close to an electrical outlet. Note, if you have a single outlet use either a surge protector or another socket adjacent if available. When finished, attach motorised mop/water tank so it is securely fastened onto docks provided in centre of Charger Base Station
• Connect sensor cable or remote control (if included) according to manufacturer instructions. Ensure that remote control matches batteries for optimum functionality (not required on all models). Most units come with 4 intelligent sensors located under the robot – sensors help guide the robot through rooms and walls without falling off stairways or bumping into obstacles. Make sure these are functional before running a robotic vacuum cleaner for the 1st time!
• Place both roller brushes (wide brush bar + spiral brush bar) into main housing at both sides, then attach other attachments such as side bush/filter as per user manual’s instructions
• Turn on robot by pressing power button located at top/side/back depending on model type, followed by pressing start button located at desired area cleanning cycle begins
Connecting The Ecovacs Deebot N79S to Wi-Fi
In order to connect your Ecovacs Deebot N79S to a wireless network, you first need to download and install the corresponding app (Ecovacs Home App). Once the app is installed, open it and log in with your registered account. Then proceed to tap ‘Devices’, followed by ‘Add Device’. Upon pressing this button a few instructions will appear on the screen.
The instructions will guide you through how to use an ethernet cable or the app itself to connect the device to your home Wi-Fi network. If you opt for the latter option, make sure that your phone is connected to 2.4Ghz Wi-Fi instead of 5Ghz and that it has an uninterrupted internet connection before attempting to add your Ecovacs Deebot N79S. Once connected via ethernet cable or Wi-FI, two beeps will be emitted as a sign that it is registered successfully. The last step would be tapping on ‘Finish’ before you can begin using it remotely with your mobile device!